
Creating a diy oval raised garden bed can be a rewarding project for home gardeners. Not only does it enhance the aesthetic appeal of your garden, but it also provides a controlled environment for your plants to thrive. This guide will walk you through the essential steps to craft your own oval raised garden bed, ensuring that you have all the necessary information to succeed.
Understanding the Benefits of Oval Raised Garden Beds
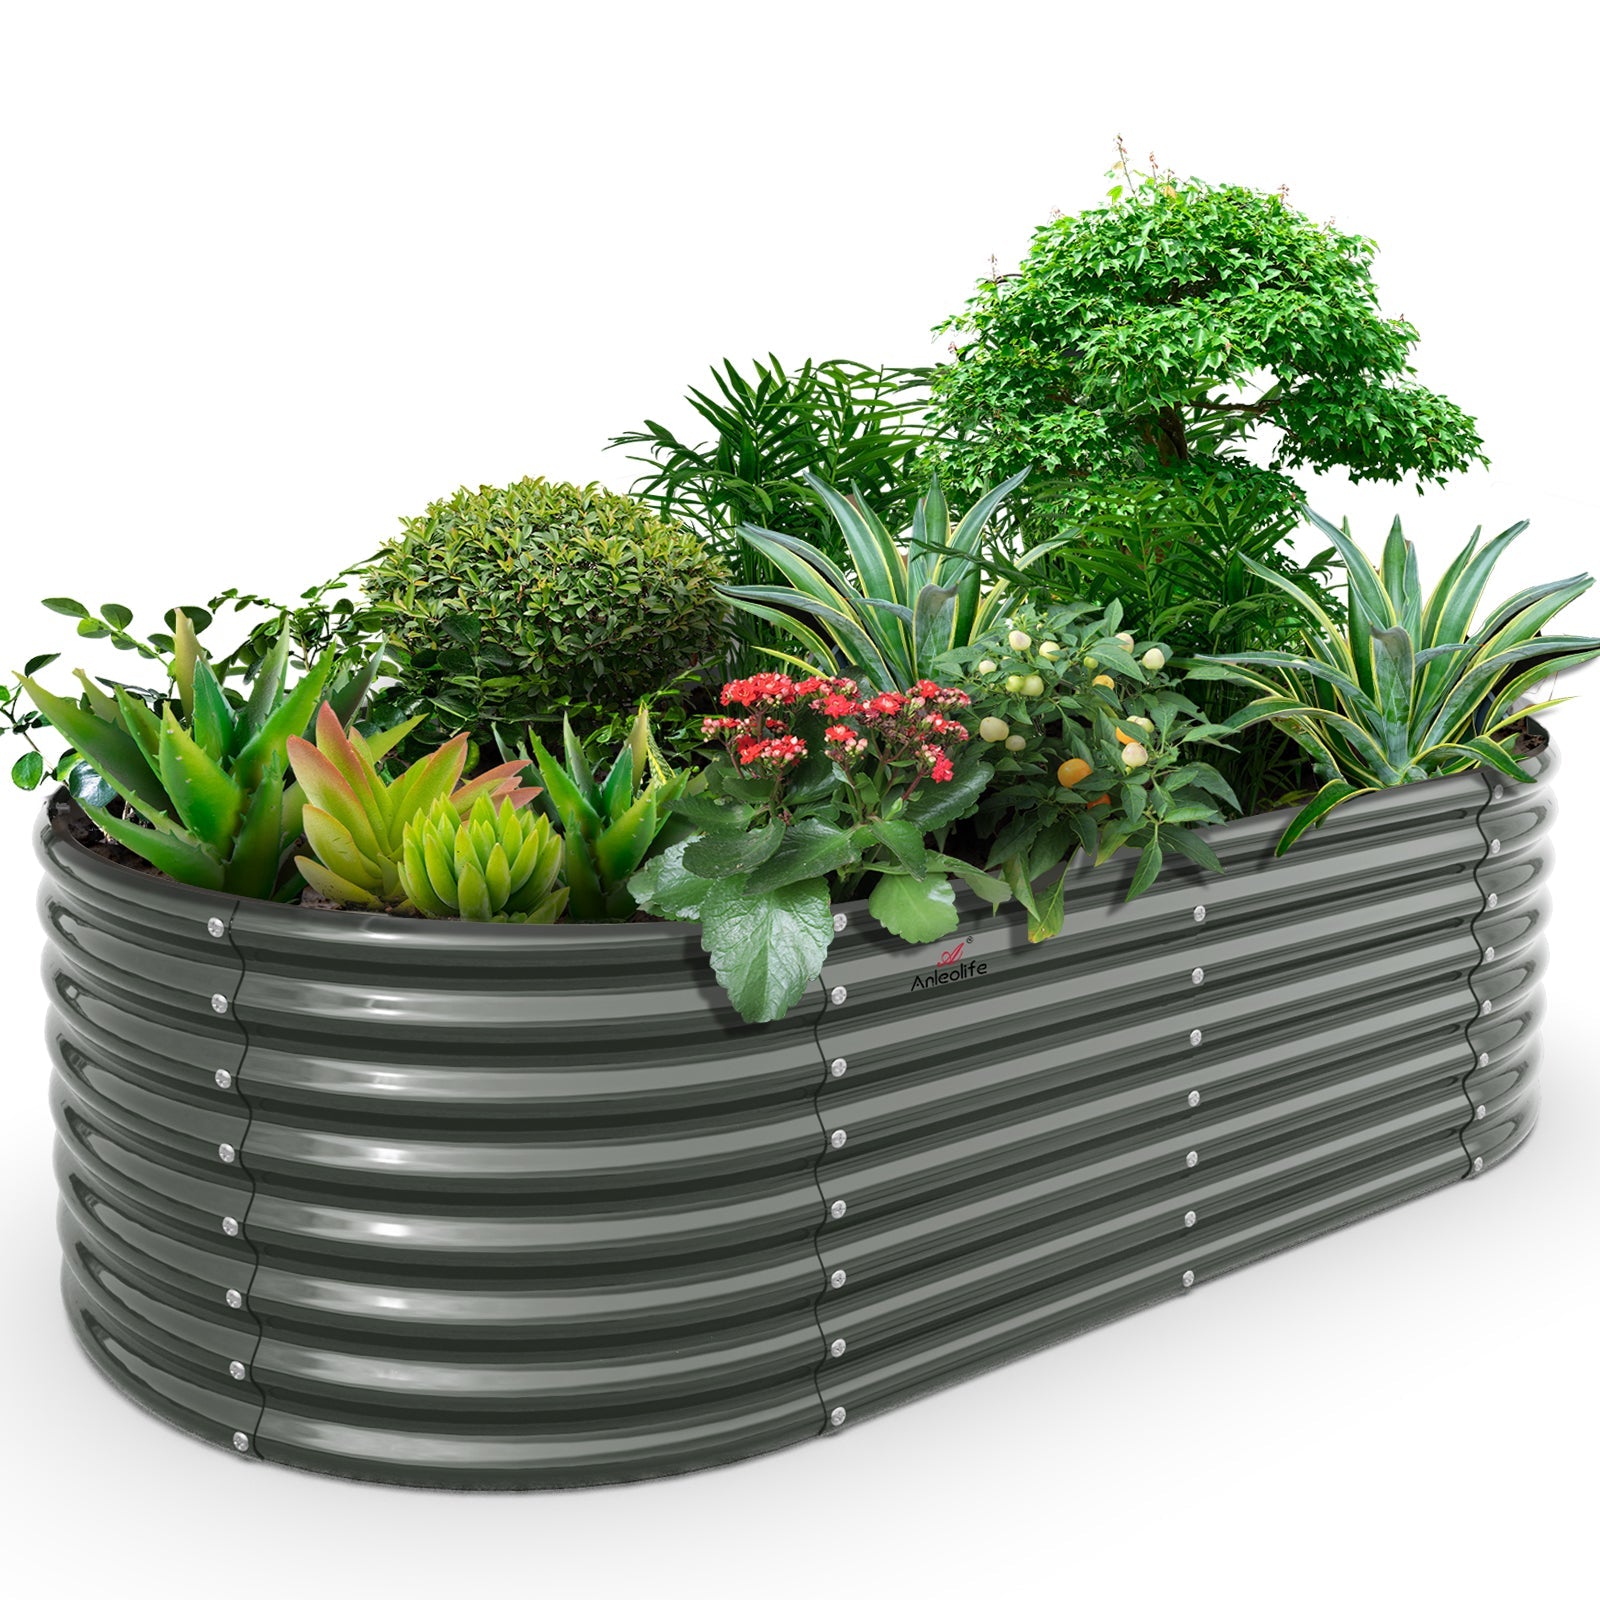
Why choose an oval shape for your raised garden bed? The diy oval raised garden bed plans for home gardeners offer several advantages:
- Improved drainage and aeration for plants.
- Enhanced accessibility for planting and maintenance.
- Unique design that stands out in your garden.
Materials Needed for Your DIY Project
Before you begin, gather the following materials:
- Wooden boards (cedar or redwood is recommended for durability)
- Wood screws or nails
- Drill or hammer
- Measuring tape
- Soil and compost for filling
- Landscape fabric (optional, for weed control)
Step-by-Step Instructions for Building Your Oval Raised Garden Bed
Now that you have your materials, follow these steps to create your diy oval raised garden bed:
- Measure and Cut: Determine the size of your garden bed. Use a measuring tape to outline the desired dimensions on the ground. Cut your wooden boards accordingly.
- Assemble the Frame: Lay out the boards in an oval shape. Secure them together using wood screws or nails, ensuring a sturdy frame.
- Prepare the Site: Clear the area where you plan to place the garden bed. Remove any grass or weeds to create a clean foundation.
- Install the Bed: Position the assembled frame in your chosen location. If using landscape fabric, lay it at the bottom to prevent weeds.
- Fill with Soil: Add a mixture of soil and compost to the bed, ensuring it is well-aerated and nutrient-rich for your plants.
Maintaining Your Oval Raised Garden Bed
Once your diy oval raised garden bed is complete, maintaining it is crucial for a thriving garden. Regularly check for weeds, water your plants, and add compost as needed. This will ensure that your garden remains healthy and productive throughout the growing season.
For more specialized tools and materials, consider visiting . They offer a variety of products that can enhance your gardening experience.
Conclusion
Building a diy oval raised garden bed is an excellent way to elevate your gardening efforts. By following these diy oval raised garden bed plans for home gardeners, you can create a beautiful and functional space for your plants. Embrace the joy of gardening and watch your efforts bloom!